







Features:
-
Category:
-
Posted at:
-
Author:
- Fabienne Rauw
-
BAUNAT Antwerp
-


-
Reading time:10 minutes
In this article:
- The evolution of 3D printing
- 3D printing technologies for jewellery: which method to use and why
- The process of 3D printing in the jewellery world
- From print to finished piece: post-processing steps
- The Pros and Cons of 3D Printing in Jewellery
- 3D-printed Jewellery: A Sustainable Choice?
- The Irreplaceable Charm of Handcrafted Jewellery
- Emerging Technology in the Diamond Industry
- Why BAUNAT's personal service matters
Is 3D-printed jewellery the next big thing in the world of diamond jewellery?
In the realm of innovative technology, 3D printing has carved itself a niche, propelling various industries into a future that's here sooner than you'd imagine. A worthy example of this progression is the advent of 3D-printed jewellery that's been knocking on the doors of traditional craftsmanship, offering glimpses of a future where technology and creativity intertwine. Dive into the world of 3D printing in the jewellery industry with us, where we discuss its pros, cons, and the place of handcrafted, natural diamond jewellery from BAUNAT in this paradigm.
Read summary
Is 3D Printing Transforming Diamond Jewelry Creation?
While 3D printing technology is making inroads in jewelry manufacturing, offering precise customization and sustainable production through methods like Direct Metal Laser Sintering, it faces challenges including slow production speeds and high initial costs. The technology allows jewelers to print casting molds and experiment with innovative designs, making personalized pieces more accessible. However, BAUNAT emphasizes that handcrafted diamond jewelry maintains an irreplaceable charm and quality that technology alone cannot replicate. The diamond industry is embracing a balance—adopting innovations like automated cutting and CAD software while preserving traditional craftsmanship. BAUNAT continues to focus on natural diamonds and personalized service from Antwerp, recognizing that while 3D printing may represent the future, the human touch remains essential to truly unveil natural beauty.
5 Questions to Find Her Perfect Engagement Ring
Are you planning to propose? Finding the right engagement ring is a defining step. Every ring is handcrafted in Antwerp from the finest materials by skilled artisans. Discover what engagement ring fits her personality.
Most viewed diamond jewels
-
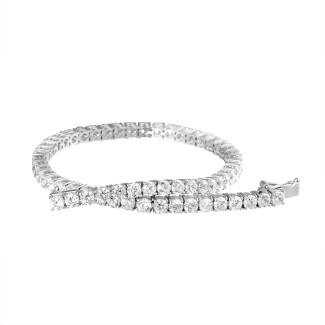
![3.50 carat diamond tennis bracelet in white gold]() Bestseller3.50 carat diamond tennis bracelet in white goldFrom USD 6.270,00 (excl. VAT)
Bestseller3.50 carat diamond tennis bracelet in white goldFrom USD 6.270,00 (excl. VAT) -
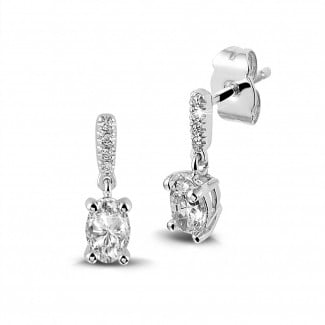
![0.94 carat earrings in white gold with oval diamonds]() 0.94 carat earrings in white gold with oval diamondsFrom USD 3.640,00 (excl. VAT)
0.94 carat earrings in white gold with oval diamondsFrom USD 3.640,00 (excl. VAT) -
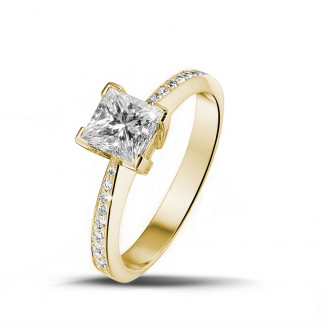
![1.00 carat solitaire ring in yellow gold with princess diamond and side diamonds]() Bestseller1.00 carat solitaire ring in yellow gold with princess diamond and side diamondsFrom USD 3.720,00 (excl. VAT)
Bestseller1.00 carat solitaire ring in yellow gold with princess diamond and side diamondsFrom USD 3.720,00 (excl. VAT) -
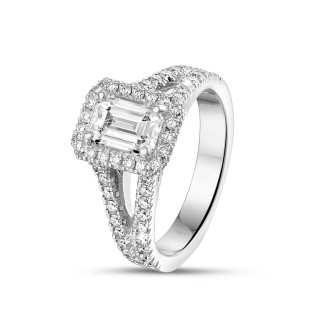
![1.00 carat solitaire ring in white gold with an emerald cut diamond and side diamonds]() Bestseller1.00 carat solitaire ring in white gold with an emerald cut diamond and side diamondsFrom USD 6.780,00 (excl. VAT)
Bestseller1.00 carat solitaire ring in white gold with an emerald cut diamond and side diamondsFrom USD 6.780,00 (excl. VAT) -
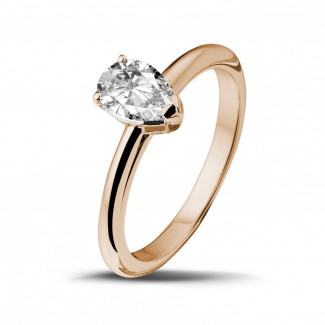
![1.00 carat solitaire ring in red gold with pear shaped diamond]() 1.00 carat solitaire ring in red gold with pear shaped diamondFrom USD 4.200,00 (excl. VAT)
1.00 carat solitaire ring in red gold with pear shaped diamondFrom USD 4.200,00 (excl. VAT)
The evolution of 3D printing
3D printing technologies for jewellery: which method to use and why
DMLS / SLM (direct metal)
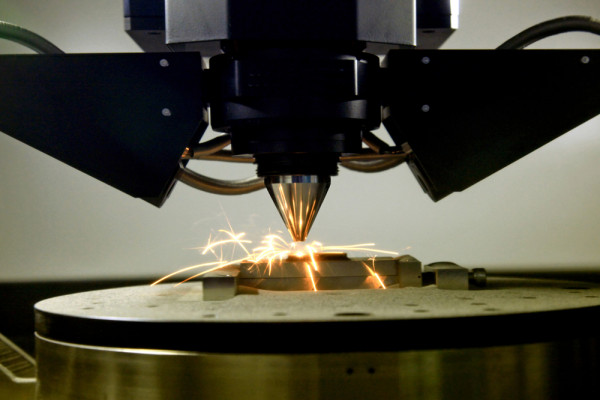
Direct Metal Laser Sintering and Selective Laser Melting fuse metal powder into dense parts using a laser. Alloys formulated for additive manufacture are used rather than casting alloys. Surface finish can be good, but the parts need careful stress relief and polishing to reach the smoothness required for diamond settings. Use DMLS when a metal part is intended to be the final component or for specialised applications; the trade-offs are higher machine and material cost and extra finishing steps.
SLA and castable resins (indirect pattern)
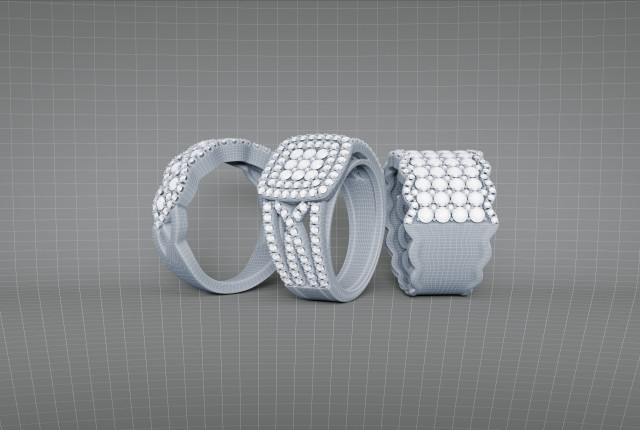
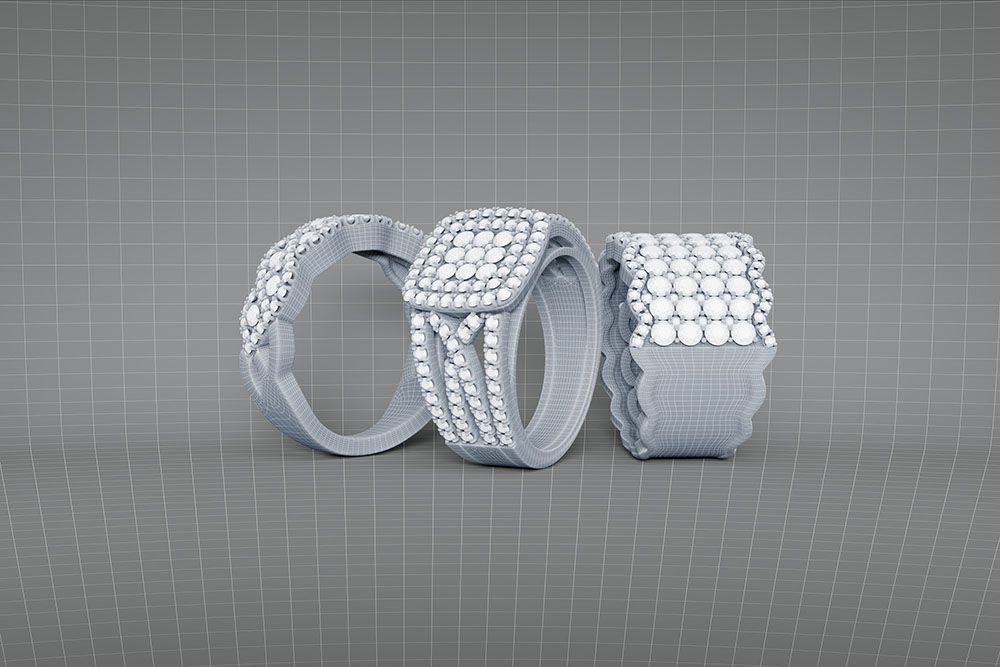
Stereolithography prints very high-resolution resin patterns, including castable resins that burn out cleanly during investment casting. The resolution and surface quality suit fine filigree and delicate settings because the printed pattern transfers detail reliably into the casting. SLA parts require washing, post-curing and a burnout step before casting, so the printed object is normally a pattern rather than the finished metal item.
Binder jetting
Binder jetting uses a liquid binder on a powder bed to form green parts that later require sintering or infiltration. In jewellery it can produce rapid, detailed patterns or parts for certain metal workflows. Surface quality and dimensional consistency depend on the machine and powder; parts commonly need further densification and careful post-processing to achieve the density and finish expected in fine jewellery. The method becomes more cost-effective at scale but demands tight process control to avoid porosity and dimensional variance.
Printed lost-wax patterns
Some workflows print wax-like or direct-wax polymers designed for lost-wax casting. These patterns combine the dimensional predictability of printing with the well-understood casting route. Surface finish is typically excellent and castings reproduce fine detail reliably. The constraints are the fragility of printed waxes and the required burnout and casting steps that follow.
Practical recommendation for BAUNAT
For accurate customer previews and prototypes we prefer SLA with castable resins or direct wax-pattern printing because they preserve fine detail and transfer it reliably through casting. DMLS can be used when a printed metal part will remain as the final piece, but it requires more finishing and stricter quality control to meet BAUNAT's standards for diamond settings. In short: use SLA/castable or direct-wax patterns for prototypes and cast final pieces; reserve DMLS for specific direct-metal applications where the workflow and finish can be validated.
The process of 3D printing in the jewellery world
From print to finished piece: post-processing steps
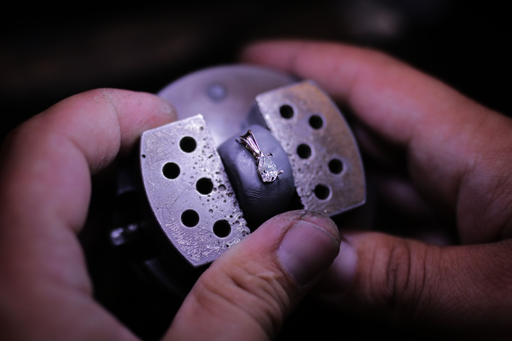
The route from a printed object to a finished piece involves a sequence of finishing operations that preserve detail and ensure structural integrity. First, cleaning and support removal: resin prints and printed waxes must be washed to remove uncured material, and supports must be removed carefully to avoid distorting fine features. SLA parts are usually post-cured to stabilise geometry before further handling. For castable resins and wax patterns the next stage is investment and burnout, which converts the printed pattern into a cavity for metal casting and removes the pattern cleanly.
When direct metal printing is used, parts typically undergo stress-relief treatments and, where applicable, densification such as sintering or hot isostatic pressing before finishing. After casting or densification, surface repair and polishing follow: sprues and flash are removed, seams are smoothed and microscopic defects corrected with files and fine abrasives. Polishing progresses through finer abrasives until the required lustre is reached, paying close attention to pavé areas and interior surfaces where stones will be set. Final finishes may include satin textures or rhodium plating for white alloys. Quality checks for stone fit, dimensional accuracy and surface quality complete the workflow before setting and delivery.
Design-for-manufacture checklist for 3D-printed jewellery:
- Select the right process for the required detail: use castable-resin SLA or wax-pattern printing for ultra-fine detail; keep direct metal methods for parts that are intended to remain metal after printing.
- Minimum wall and thickness: avoid extremely thin unsupported walls in filigree. Each printing method has practical minimums; consult production experts when uncertain.
- Clearances and tolerances for settings: allow modest clearance for prong thickness and seat depths to account for material removal during polishing and the tolerances of casting or sintering.
- Orientation and support strategy: orient models to keep supports off visible faces and to limit overhang deformation. Plan support attachment points so they can be removed and blended without harming visible detail.
- Avoid enclosed voids and trapped supports: features that trap resin or investment are hard to clean and can cause casting defects.
- Common failure modes and remedies: thin spikes may break during support removal (reinforce or thicken those features); sharp internal corners may not fill accurately in casting (add small radii); prongs printed too thin may deform during finishing (increase thickness or adjust geometry).
When in doubt, BAUNAT's production team recommends sharing native CAD files and the intended process early so minimums and tolerances can be tailored to the selected printing and casting route.